Lined Canvas Shoe Bin from a Costco Box!
Wow when I saw this on Pintrest I knew I had to make one for my front entry for all of our shoes!!! K I will start out by saying I am not a perfectionist, I'm not a sewer, I'm a gluer! So I made this shoe bin with fabric and a glue gun. I got the idea from Positively Splendid I just made mine easier ha ha.


 step 3 / Working on one of the short sides of your box, apply an even line of glue to one of the outer edges, and fold over the corresponding flap snugly to adhere it to your box. Make sure to pull enough so your edges are crisp! Repeat this step for the remaining flaps on the short sides of your box.


After...Wala!!!

Here's what you need:
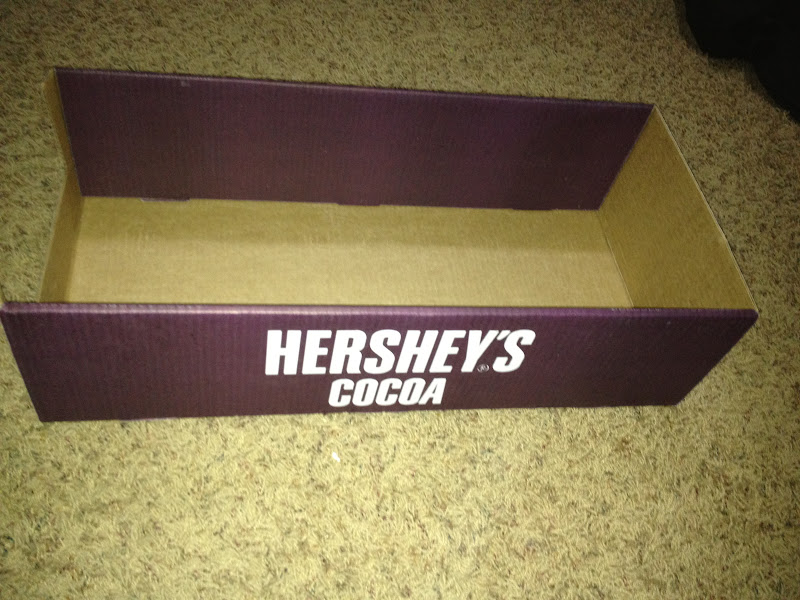
A box of your choice
Canvas (I used 100% heavy cotton material, it was cheaper ha ha)
Measuring Tape
Disappearing Marker
A glue gun and lots of glue stix
Fabric to line your bins
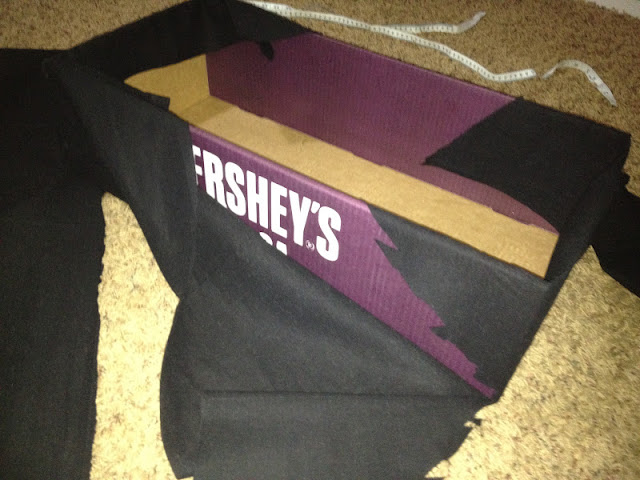
step 1 / Cut the flaps off off your box. (Though I did not have flaps on mine) Flip your box over and use your measuring tape to measure up one side of your box, over the narrow bottom width and then down the other side, as shown. Write down this width measurement. Now, rotate your box and take the box's length measurement in the same manner. Cut a piece of your canvas fabric that is your width measurement by your length measurement.

step 2 / Lay your cut piece of fabric on a flat surface, and place your box on top of it, so it is precisely centered on the fabric. (Make sure the long sides of your box is aligned with the long sides of your fabric piece.) Use your measuring tape and disappearing ink marker to mark a line out 2 inches out from one of the corners of your box. Now, mark a line out from the bottom of the mark you just made that is perpendicular to the raw outer edge of your canvas piece, as shown. Repeat with the remaining three corners of your box. Cut along all of these lines, so that you are left with a cross-shaped canvas piece, making sure to cut along the angled corner lines, as well.


step 4 / Apply an even line of glue on either side of your remaining short flap, as shown. Fold in and adhere the outer edges of the flap so that the creases formed are in perfect alignment with the outer edge of your box, as depicted below. (Once these outer edges are folded in and adhered, your flap should be precisely the same size and shape as the short end of your box.) Apply glue to the top and sides of one of the short ends of your box, and then snugly fold the flap of fabric up and over this side, making sure everything is smooth and even, and that you have a nice, crisp corner at the bottom edge. Repeat with the other flap on the opposite short side of your box.


If I could do it over again I would do it like the Tutorial, but I didn't buy enough Fabric so I had to make some modifications lol. No one can see the bottom anyways because of the shoes, hew!
step 5 / Use the basket liner tutorial of your choice to make liners for your bins. There are so many great tutorials out there! For this set of bins, I didn't use a tutorial so I made the following modifications: instead of creating a casing as the tutorial details, I simply glued the edge of the liner.
Before...

After...Wala!!!


Comments